These are SO good! With a mug of honey-sweetened tea, they're just right for this chilly February day. ***Revised and updated May 14, 2020***
For years, when I would go home to visit, I went with my sister to the Farmer's Market in our hometown. There was one table I always made sure to go to, where they sold goods from a local baker. He made the most delicious cinnamon and walnut scones; simple, but so very good.
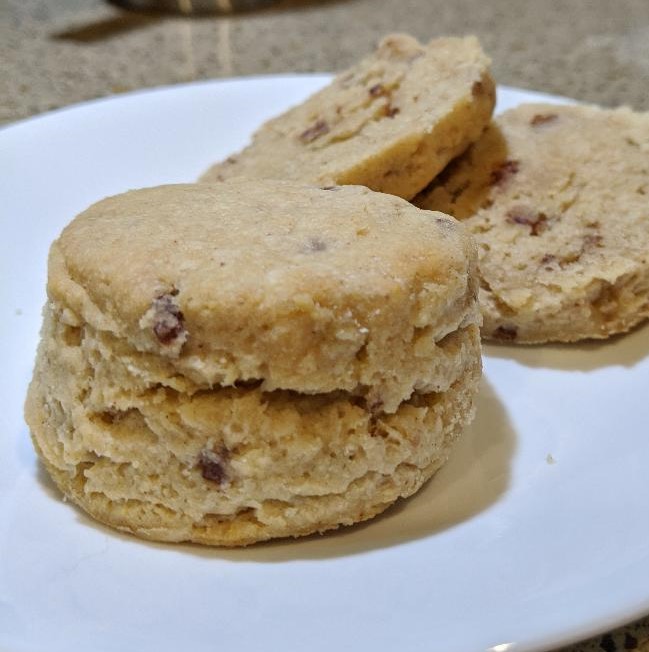
The scones I made this week remind me of those old favorites. I loved them so much that I took a picture and posted it on Instagram. I just had to share the joy! :)
The cinnamon bits I use are from the King Arthur Flour company. Cinnamon chips that I've seen in grocery stores don't have the same flavor. They tend to taste like those hot cinnamon candies- not at all what I want in a scone! The ones from King Arthur, called Cinnamon Sweet Bits, taste like real cinnamon; like the filling of good cinnamon rolls. They used to carry a version that was in the classic "chip" shape, but those had a little dairy in them. The ones they carry now are irregular bits and small chunks- and they are dairy-free! It's best to order them in the cooler months of the year. Baking chips can melt if shipped during hot weather.
Here's a link to the ones I use:
https://shop.kingarthurflour.com/items/cinnamon-sweet-bits
If you don't have cinnamon bits to add to these scones, they will still be very good.
Cinnamon Walnut Scones
makes 8-10
Heat oven to 375 degrees Fahrenheit
Bake time: 15-20 minutes
Line baking sheet with parchment paper (prevents sticking)
I use an AirBake baking sheet, which helps with even browning and helps to prevent burning.
Combine:
1/2 alternative milk
(I use Silk or SoDelicious unsweetened original coconut milk)
2Tablespoon vinegar or lemon juice
(I use coconut vinegar. Apple cider vinegar would work just as well)
"Souring" the milk (essentially turning it into buttermilk) helps to lighten the scones, giving a better rise. You can certainly skip this step, but I do like the improved texture that it gives.
In mixing bowl, combine:
2 cups gluten-free flour mix
(I use: 1 cup fine millet flour, 1 cup arrowroot or tapioca starch)
1 Tablespoon baking powder
1/2 teaspoon xanthan gum
1/2 teaspoon salt
1/2 teaspoon cinnamon (if not using Cinnamon Bits, increase cinnamon to 1 1/2 tsp.)
Cut into dry ingredients:
1/2 cup butter alternative
(I use Spectrum palm kernel oil shortening. Earth Balance soy-free buttery sticks or Melt sticks would also work. For those who can have dairy, real butter should also work. If using real butter, skip the coconut oil. Real butterfat will give the texture that I approximate with coconut oil.)
Add and stir with a fork:
3 Tablespoons agave nectar or honey
2 teaspoons melted coconut oil
(I use butter flavored coconut oil, but unflavored coconut oil would work as well. The coconut oil is not essential but gives a nice, buttery "feel.")
1 teaspoon vanilla (gluten-free, if you're especially sensitive to gluten)
( the soured milk)
When wet ingredients are halfway mixed into wet, add:
2 Tablespoons chopped walnuts
(If not using Cinnamon Bits, increase chopped walnuts to 1/4 cup)
2 Tablespoons Cinnamon Sweet Bits
Stir until well combined. Gluten-free dough is not as sensitive to over-mixing as wheat-based doughs. On a surface lightly floured with gluten-free flour (I use the same mix- millet + arrowroot) gently gather dough together, folding it over onto itself a few times. Make sure there is enough flour mix underneath to keep it from sticking to the surface.
Pat dough into a rough circle, about 1" thick. Using a sharp round cutter (I use a 2 1/4" biscuit cutter) cut out scones, dipping the cutter into a bit of the flour mix between cuts. This helps to keep the dough from sticking to the cutter. Place scones on parchment lined baking sheet. Regather dough and pat out again as needed.
Bake at 375 degrees for 15- 20 minutes, until scones are cooked through and bottoms are lightly golden. (If you make smaller scones, 15 minutes should be plenty of baking time)
Transfer to cooling rack.
(If left on the hot pan, the bottoms will continue to brown and become tough.)
Store airtight and eat within a few days. For best texture, reheat a scone for 9 or 10 seconds in the microwave. Re-warming gluten-free baked goods restores their soft, pleasing texture.
----------------------------------------------------------------
Link to the cutters I use. They're sturdy, stainless steel and affordable.
For scones, I use the second-largest of the set:
https://www.amazon.com/gp/product/B0001X9H3W/ref=ppx_yo_dt_b_search_asin_title?ie=UTF8&psc=1
For measuring things like shortening, honey, agave nectar, or nut butter, I use a Pampered Chef brand measuring tool. Once you've measured the ingredient, you simply push it out into the bowl. It's so much easier than trying to scoop or scrape sticky, greasy things from measuring cups or spoons! Here's a link to the one I use:
https://www.amazon.com/Pampered-Chef-Mini-Measure-All/dp/B001F0LYDQ/ref=sr_1_3?crid=BR2RRCARN3Y5&keywords=pampered+chef+measuring+cups&qid=1582915931&s=home-garden&sprefix=pampered+chef+meas%2Cgarden%2C165&sr=1-3
The one in the link above measures in increments of tablespoons, ounces or fractions-of-cups up to one cup. This makes measuring out three tablespoons of agave nectar or honey simple and easy. They also have a larger version that measures up to 2 cups, and a small one that will measure teaspoons.
Baking time may vary, depending on your oven. We live in an RV (travel trailer) so my baking is done in a very small gas oven. Check scones two or three minutes early, in case your oven cooks faster than mine does.
***I just learned how to properly insert links into my blog posts, so they will actually work! :)
No comments:
Post a Comment